Question: 


The motor on my ClariSea looks like it is struggling to pull the fleece through?


Answer: 


If the motor is trying to advance, but struggling, or making a noise but not advancing is possible the cruciform has slipped or become damaged. This can give the appearence that the motor does not have enough power but is not the case.

The cruciform is the drive block that connects the motor to the dirty roll spindle. This part has been specifically designed to fail under higher than normal operating forces. This in an extra step to protect the motor from damage if the fleece snags.

If this part is not in position properly or is damaged, the motor cannot advance as it should and the ClariSea smart controller will alarm to give an audible and visual warning showing there is an issue.

To check the cruciform, remove the motor unit from the ClariSea and undo the black thumbscrew at the end of the dirty roll sleeve. This will release the motor assembly from the inner casing.

Carefully slide the motor assembly from the inner casing to reveal the cruciform. Do not pull it out with the cable as this may cause damage.

There are three different generations of the ClariSea drive cruciform depending on the age of the unit.

The next three steps show how to identify and check the three different types of cruciform.


Find Stockist V1 Cruciform

This is held on to the motor with a 10mm long M4 screw that locates into a dimple on the motor shaft.

Check that there are no splits on the Cruciform and that the end of the fixing screw is located properly in the dimple of the motor shaft. If the cruciform can turn independently of the motor it is not attached properly.

If a replacement cruciform is needed please contact us.

V2 Cruciform

This is fixed on to the motor shaft with a 12mm long M3 Machine screw that threads into a hole running through the motor shaft.

Check that the cruciform is not split and that the fixing screw is not bent or damaged.

If the screw has snapped, leaving a piece in the motor shaft, it can be easily removed using a small flat head screwdriver or pointed tool to rotate it free. The screw can be replaced with a 20mm long M3 screw to add extra support to the cruciform. To do this you will need to drill the fixing hole through the cruciform so that the screw can pass all the way through the motor shaft and fix into both sides of the cruciform.

If a replacement cruciform is needed please contact us.

V3 Cruciform

This cruciform has a fixing hole running all the way through and uses a 20mm long M3 machine screw running through the motor shaft.

Check the screw and cruciform for damage. If a replacement cruciform is needed please contact us.

Before re-assembling the motor assembly check that the three black guide wheels on the front and back of the motor case are in position. If one of these has become detached the motor will not sit straight as it rotates, potentially causing damage to the cruciform.

Locate the motor assembly back into its housing making sure that the cruciform locates inbetween the 4 small pegs in the end of the housing locking it in place.

For the Motor assemby video guide click here.

Replace the black thumb screw to secure the motor assembly in place. This only needs to be hand tight. This will now be ready to reinstall on the ClariSea unit.

If the black thumb screw is not fully hand tightened, or the cruciform not located properly, the cruciform will slip and not drive the dirty roll.


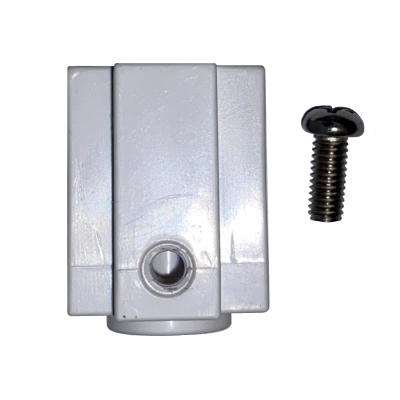
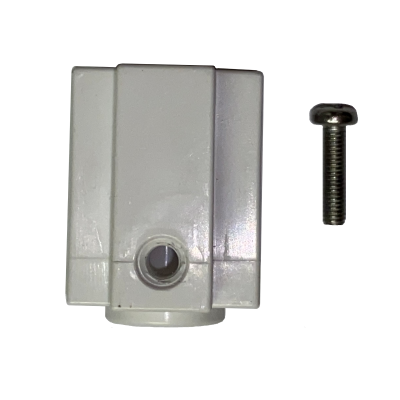
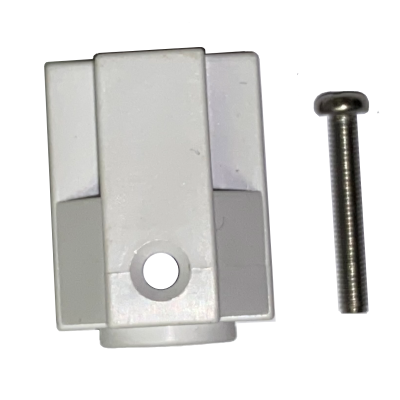
If the cruciform or fixing screw is damaged there are a few installation points that should be checked. These will cause extra tension on the fleece making it harder for the motor to advance and can cause the cruciform to fail as designed.

The dirty roll assembly needs to sit level on the unit.

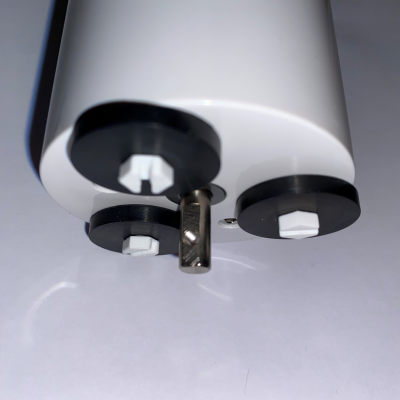
The mounting slot on the back plate of the ClariSea unit has an indicator line, the centre of the fixing screw on the dirty roll assembly should be positioned central to this line. The front of the dirty roll assembly should rest on the front skid plate. If this is not aligned properly the fleece will wander to the left or right and in some cases cause the dirty roll to form a bulge on one end.

For more information please click on the FAQ below,

https://www.theaquariumsolution.com/why-my-clarisea-forming-bulge-one-side-dirty-roll


The dirty roll should lay flat and not have a bulge in the middle.

If the dirty roll has a bulge in the middle then the guide plate may have developed a curve due to extra tension from the fleece or the nuts being tightened too much on the threaded rods. This would be specific to the SK5000 model due to the wider plates and fleece.

For more information please click on the FAQ below,

https://www.theaquariumsolution.com/how-do-i-stop-my-clarisea-sk5000-fleece-forming-ridge-centre-dirty-roll


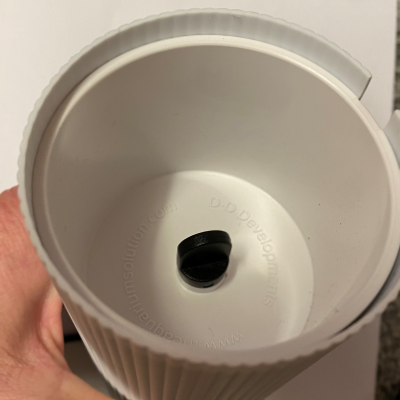
The clean fleece needs to remain dry. Care must be taken not to position the unit in a way that the clean fleece can become wet from water splashing in the sump or made wet during maintenance. If the clean roll becomes wet it can deform and will no longer unroll as it needs to.

If the unit has been running for some time it is possible that the rollers that guide the fleece at the bottom of the unit have become dirty and are no longer allowing free movement. In this case the unit should be taken off and cleaned. Never use boiling or hot water to clean the unit or its components.

Certain versions of the ClariSea unit may have an extra strip of material attached to the top of the white filter plates. This must be positioned so that it is facing outwards away from the fleece. If it is not the fleece may not be able to move freely over it and there is a potential that water will be able to bypass the fleece unfiltered.