Careful consideration of the positioning of the Eco-Cooler will give you a very efficient unit that will operate well and do what it has been designed for, however it must be installed with access in mind so that it can be easily cleaned and maintained.�
Like every thing else in life - if it�s a pain to maintain then it doesn�t get done!
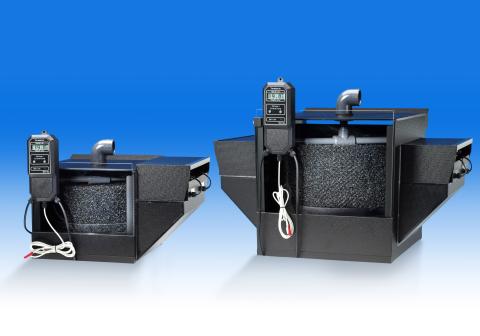
Internal Installation of an Eco-Cooler
Installation�of an evaporative cooler within the house - see article on humidity considerations.
WITHIN THE CABINET
An Eco-Cooler can be installed inside the aquarium cabinet providing there is enough room to accommodate its volume and would generally be sat on supports above or inside the sump so that the water exiting the unit flows straight down and into the sump water.
GRAVITY FEED
Most installations with the Eco-Cooler in the cabinet would feed the unit directly from the overflow weir in the main aquarium and get a free ride from the water flowing downwards into the sump, thus negating the requirement for a separate feed pump to run the unit. We would also recommend that you fit a bypass system.
A bypass simply allows a percentage of water through the cooler, with the rest flowing into the sump.� A shut off valve (tap) is fitted after the cooler and this allows for complete control of the rotation of the spray bar.� Without the bypass there could well be far too much water flowing to the cooler�causing it to back up.� A bypass is only required when you feed directly from a weir overflow and is very simple to install.
PUMP FEED
Another method of installation, if the cooler cannot be piped to the overflow weir is to run the unit remotely in the sump.� With this option the unit is fed via a separate feed pump, forcing water through the cooler and back into the sump.� At the top of the cooler as standard is a 40 mm, 90 degree elbow for gravity feed but this can be stepped down to a hose tail to allow the connection to a flexible pipe The feed pump is connected to the flexible hose, along with an inline control tap for precise water control. This allows for a very simple and flexible installation.
External�Installation of an Eco-Cooler
Installation�of an evaporative cooler outside of the house.
If the cooler can be located completely outside the house this is by far the best way to install it and will generally provide the highest level of efficiency from the unit.�
Once again, as in remote internal installations, the Eco-Cooler can be located anywhere as long as water can be fed to the unit and the water can return via gravity back to the system. This means that the cooler must sit higher than the sump or aquarium so that water can freely flow back in.
The cooler can be housed in a shed or purpose built housing but remember to keep the structure well ventilated for good air exchange.� Also if the cooler is outside then it must be protected from the weather- rain especially, as the cooling fans are electrical items. Some diy shops sell small plastic sheds and these are ideal for eco coolers because they will not rot and are well insulated and waterproof.� They just need a few vents to be provided for good ventilation. You would normally fit the thermostat inside the house with the wiring going outside to link up to the fans.
This method requires only two much smaller holes to be drilled through the wall of the house.� One will be for the water feed to the cooler and the other for the return back to the system (40mm).� Externally the return pipe would ideally be as short as possible or insulated to ensure that it is not heated by the sun on very hot days.
Any power connections should use a waterproof socket boxes to plug in electrical items outside.
With the cooler located outside all issues with humidity and provision of cool dry air to the fans will be optimised and the cooler will work at maximum performance. In the winter you can either close the unit down if you wish or if it is in a well constructed housing you can leave it connected up to the aquarium and operate it all year round.�